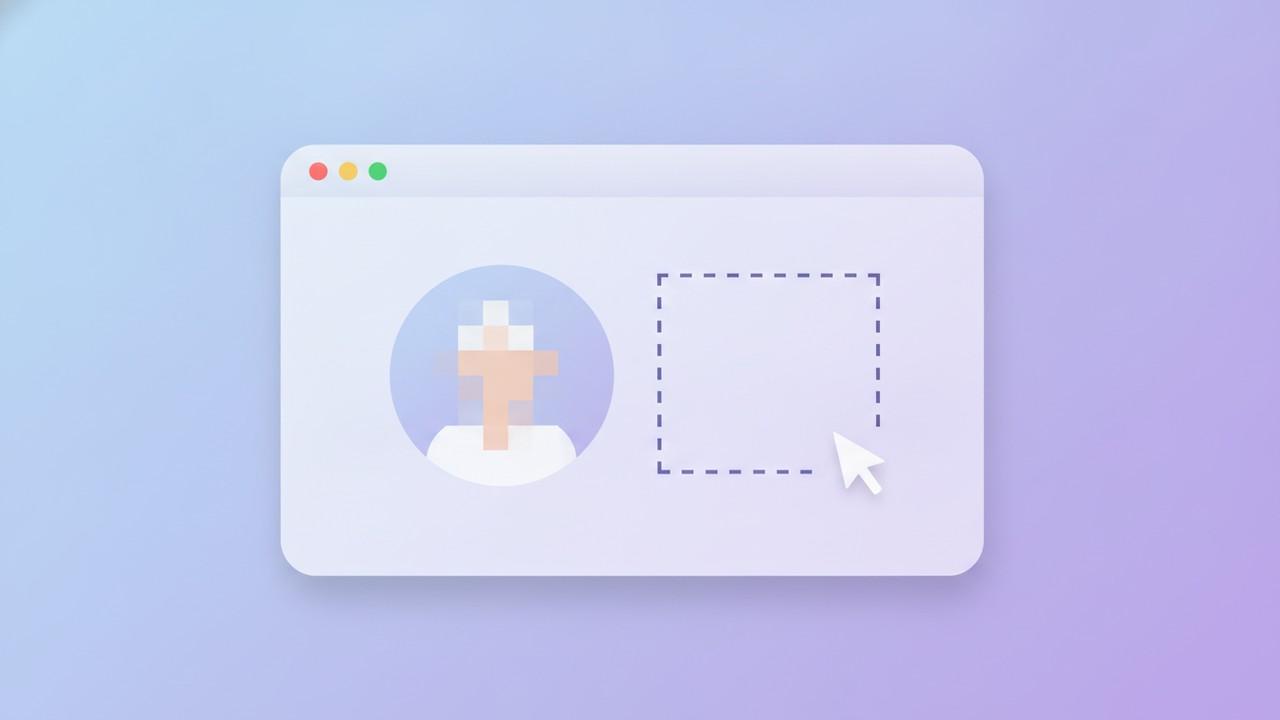
Most screenshot redaction advice is about text: emails, IP addresses, phone numbers, the kind of thing an OCR engine can find and flag automatically. That covers a real and common case, but it misses an equally common one — a screenshot with a person's face in it, a company logo that identifies a client, a profile picture, a signature, a whiteboard photo in the background of a video call. None of that is text, so none of it gets caught by a tool built to scan for text patterns. If you only rely on automatic redaction, this category of sensitive content sails straight through.
This comes up more often than it sounds like it should. A support screenshot of a shared dashboard can carry another customer's avatar in the corner. A screen recording still from a Zoom call has three other people's faces in the gallery view. A "here's the bug" screenshot from a teammate might have their email client's inbox preview visible in the dock, complete with a sender's photo and subject line. In every one of these, the sensitive part isn't a string of characters — it's a region of the image that a human has to notice and decide to cover.
Why Auto-Redaction Stops at Text
Automatic redaction tools — Savvyshot's included — work by running on-device OCR over the image, matching recognized text against a handful of known patterns (email addresses, phone numbers, IP addresses, credit card numbers), and covering whatever matches. That's a well-defined, high-precision job: the tool knows what an email address looks like as a string, so it can find one reliably.
A face is a different kind of problem entirely. There's no equivalent pattern-match for "this is a person's face" or "this is a company's logo" in a general-purpose screenshot editor — that's a face-detection or object-recognition model, a different category of tool, and not something a lightweight OCR-based redaction feature is built to do. So the practical rule is simple: automatic redaction handles sensitive text, and everything else — faces, photos, logos, signatures, distinctive UI chrome that identifies a specific person or company — is on you to spot and cover manually.
When You Actually Need to Do This
A few situations where non-text redaction comes up regularly:
- Support and QA screenshots that include other users' avatars, names rendered as images (not selectable text), or profile photos in a shared or multi-tenant interface.
- Screen recording stills from video calls, where other participants' faces are visible in a gallery or sidebar view you're using to illustrate a bug or a workflow.
- Marketing and case study screenshots that include a client's logo or a real customer's photo where you don't have clearance to publish it.
- Internal walkthroughs shared externally — a screenshot built for an internal Slack channel, later reused in a public doc or blog post, that still has a colleague's headshot in a notifications panel or chat sidebar.
- Screenshots of physical documents or whiteboards captured incidentally in the background of an app window — a sticky note with a password, a printed document with a signature.
None of this is a pattern an OCR scan can flag. It requires actually looking at the image before it goes anywhere.
Manual Redaction: Blur, Pixelate, or Solid — and Why the Choice Matters
Once you've spotted what needs covering, most screenshot editors give you a manual tool for it, separate from auto-redaction. In Savvyshot, that's the Blur tool (shortcut B): drag over any region and it applies a blur with an adjustable intensity slider, regardless of what's underneath — a face, a logo, a scrawled note, anything. For a fully opaque cover instead of a blur, the Rectangle tool with a solid fill works as a manual redaction box, in any color.
That choice — blur versus a solid box — isn't just cosmetic, and it's worth understanding before picking one out of habit.
Security researchers have repeatedly demonstrated that blurred and pixelated text can, in some cases, be reversed. A widely cited example is Bishop Fox's open-source Unredacter tool, which reconstructed pixelated text by exploiting the fact that a pixelation or blur filter is a predictable, reversible-ish transformation — train a model on enough examples of "known text blurred with this filter" and it can guess the original with real accuracy. The reversal is easier at low blur/pixelation strength and gets harder as the intensity increases, but "harder" isn't the same as "impossible." A solid color box, by contrast, throws away the underlying pixel data entirely — there's nothing for a reconstruction model to work from, because the information is gone, not just distorted.
What this means in practice:
- For a face or a photo, where the goal is usually "don't make this person identifiable in a casual viewing," a reasonably strong blur is normally fine. Nobody is running a deblurring model against your support ticket screenshot.
- For anything genuinely sensitive — a password visible on a sticky note, an account number, a signature — a solid box is the safer default. If the content matters enough to redact at all, it's worth treating "reversible" as a real risk rather than a theoretical one, especially before publishing a screenshot somewhere public.
CleanShot X takes a similar position by offering blur, pixelate, and a fully opaque redaction option side by side in the same tool, letting you pick based on exactly this tradeoff rather than defaulting to one. Whatever editor you're using, the same logic applies regardless of which one has the extra pixelate variant: opaque hides more permanently, blur hides less permanently but preserves more visual continuity in the image.
A Practical Workflow for Screenshots With People in Them
- Run auto-redaction first if the screenshot has any text-based sensitive data — it's faster than manually finding an email address or phone number, and it clears the easy cases out of the way.
- Then look at the image itself, not just the text. Scan corners, sidebars, and notification areas specifically — that's where avatars, chat previews, and incidental faces tend to hide in an otherwise unremarkable screenshot.
- Cover faces and logos with Blur at a strong-but-not-extreme setting — legible enough that you can confirm something was actually there, indistinguishable enough that identity isn't recoverable by eye.
- Cover anything with real stakes — passwords, account numbers, signatures — with a solid box, not blur, regardless of how strong the blur looks on screen.
- Zoom in before exporting. A blur that looks sufficient at normal viewing size can still leave enough edge detail visible when someone else zooms into the exported file. Check at 100% and at 2x before calling it done.
What About Other Tools
Snagit's editor includes step-based blur and pixelate effects you can drop onto a region, functionally similar to a manual blur tool — same tradeoff applies about reversibility at low strength. On the OS side, macOS Preview's Markup toolbar has a Redact tool, but it only produces a solid black box — no blur or pixelate option at all, which is arguably the safer default by omission, just less flexible if you want the redacted area to still read as "something was here" rather than a blank void. Windows has no comparable one-click redaction in its built-in Photos viewer; a manual box drawn in Paint is the fallback, with the same all-or-nothing solid-color limitation as Preview.
None of these differences change the core point: whatever tool you're in, a screenshot with a person's face, a client's logo, or someone else's private information in frame needs a second look beyond whatever automatic scan the tool offers. Auto-redaction is genuinely useful for the text cases it's built for — it's just not the whole job.